
For most schemes, the right pre-app pack is contextual exterior renders plus one verified photomontage, with an AR onsite check added only where height, heritage or light concerns are likely. Agree viewpoints with the planning officer or consultant first, then brief your studio with drawings, survey data and site photos. Planning-focused studios can turn that brief into planning-ready images once the viewpoints are locked.
TL;DR:
- Verified photomontage is essential for high-sensitivity sites, while simple exterior renders suffice for low-risk schemes.
- Commission visuals after design stabilization but before tight deadlines, and lock viewpoints early to avoid costly revisions.
- Provide comprehensive inputs including drawings, survey data, geographic information, and detailed viewpoint metadata to ensure accurate modeling.
- A methodology statement must clearly document data sources, camera details, and verification tier to meet planning authority standards.
- Costs vary significantly based on viewpoints, verification level, complexity, and revision rounds, so request tailored quotes and itemized pricing.
Table of Contents
- Which CGI outputs work for pre-application and when to use each
- When to commission visuals and realistic delivery timelines
- A copyable commissioning brief and checklist for pre-app CGI
- Quality and verification: what to demand in a methodology statement
- How to work with the studio during pre-app: approvals, roles and common pitfalls
- Scope, pricing bands and the main factors that change cost
- Studio perspective: why pre-app visuals matter
- How Visual Trick can help with your pre-app CGI
- Sources
- FAQ
Which CGI outputs work for pre-application and when to use each
Pre-app visuals aren’t one product. Different outputs answer different questions, and picking the wrong one either wastes budget or leaves a genuine risk unaddressed.
- Exterior renders show massing, materials and context from a fixed camera; good for early design conversations with officers.
- Contextual photomontage places the proposal into a real photograph without full verification; useful when visual risk is moderate.
- Verified photomontage (VVM/AVR) is built from surveyed coordinates and quantifiable data, so a third party can check its accuracy. It’s the standard tool for sensitive or high-visibility sites.
- Massing or wireline studies test scale quickly, before finishes are decided.
- Aerial photomontage helps with skyline, roofscape and townscape impact.
- Interior renders support discussions on daylight, layout or amenity where that’s part of the pre-app conversation.
- AR/onsite viewing tools let officers and neighbours check a proposed viewpoint in situ, without committing to full verification straight away.
UK guidance aligned with GLVIA3 recommends matching the sophistication of the output to the site’s visual sensitivity, not defaulting to the most expensive option for every scheme. A low-risk suburban infill might need only annotated exterior renders. A tall building near a conservation area or a listed asset usually needs verified photomontage from agreed viewpoints, sometimes paired with an AR check for the officer’s site visit.
When to commission visuals and realistic delivery timelines
Commission once the design is stable enough to model accurately, but before your submission deadline starts squeezing review time. Commissioning too early means remodelling every time the massing shifts; too late means no room for a second round of feedback.
A typical sequence runs: viewpoint agreement and survey collection, then base modelling, then draft images, then one or two revision rounds, then final sign-off. Simple exterior packs can turn around in one to two weeks once inputs are supplied. Verified photomontage adds time for survey processing and methodology documentation, so build in extra lead time on anything involving accurate CGI created from reliable drawings and mapping.
Pro Tip: Lock your viewpoints with the case officer or planning consultant before you book any survey or photography. Changing a viewpoint after the site visit is one of the most common causes of wasted spend.
A copyable commissioning brief and checklist for pre-app CGI
A studio can only work as fast and accurately as the inputs it receives. Before you approach anyone, gather the following:
- Architectural drawings (plans, elevations, sections) and, where available, Revit or CAD models.
- Topographical survey or LiDAR data for the site and immediate surroundings.
- OS mapping references where the scheme sits within a wider townscape.
- Site photographs from the proposed viewpoints, taken at eye level unless otherwise agreed.
- Viewpoint metadata: GPS or OS grid coordinates, camera height, lens focal length and a reference photo for each shot.
- Deliverable specifications: resolution, file formats (JPEG, TIFF, layered PSD or PNG), and whether layered exports are needed for the design team.
- Agreed number of review rounds and who holds final sign-off.
- Confirmation of image usage rights for the submission, consultation boards and any marketing reuse.
Industry practitioners stress that agreeing viewpoints and capturing this metadata before survey work begins prevents wasted effort later, keeping the final pack auditable when a case officer or third party wants to check it. Paste that numbered list straight into an RFP and any studio worth commissioning will recognise exactly what you need.
Pro Tip: Ask for viewpoint metadata in writing before survey day, not after. It costs nothing and saves an entire remake if a coordinate turns out to be wrong.
Quality and verification: what to demand in a methodology statement
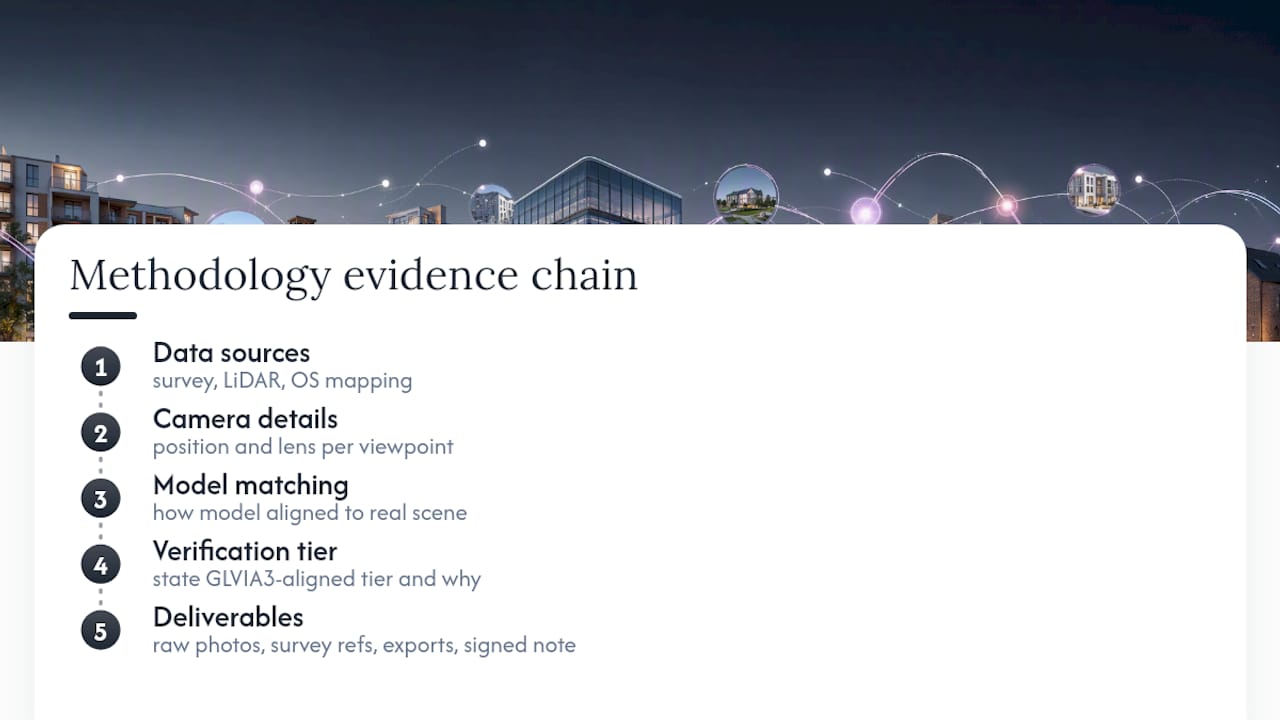
A methodology statement is what separates a decorative render from a defensible planning document. It should set out the data sources used (survey, LiDAR, OS mapping), the camera position and lens details for each viewpoint, and how the model was matched to the real-world scene. Committees and consultees rely on this information to check the accuracy of the visualisation rather than take it on trust.
Not every application needs the top verification tier. GLVIA3-aligned guidance describes a graded approach, from simple annotated photos through to fully verified photomontage, scaled to how visually sensitive the site is. Ask your studio to state, in writing, which tier a given image sits at and why. When you do request full verification, the pack should include raw survey photographs, the survey references used, model exports and a signed methodology note, so anyone reviewing the application can replicate the check.
How to work with the studio during pre-app: approvals, roles and common pitfalls
The workflow that avoids expensive rework runs in a fixed order: brief, model approval, camera matching, draft images, sign-off. Skipping the model approval stage to save time is the single most common cause of late-stage revisions.
- The architect or design lead approves the model against drawings before rendering starts.
- The planning consultant confirms viewpoints match what was agreed with the case officer.
- One named person on your team holds final sign-off. Splitting that responsibility across several stakeholders is what causes contradictory feedback rounds.
Frequent pitfalls include late design changes arriving after camera matching (which forces a partial remake), unclear sign-off authority, and incomplete survey data that only surfaces once the studio starts modelling.
Pro Tip: Freeze the design before camera matching begins. Cosmetic tweaks after that point are cheap; structural ones are not.
Scope, pricing bands and the main factors that change cost
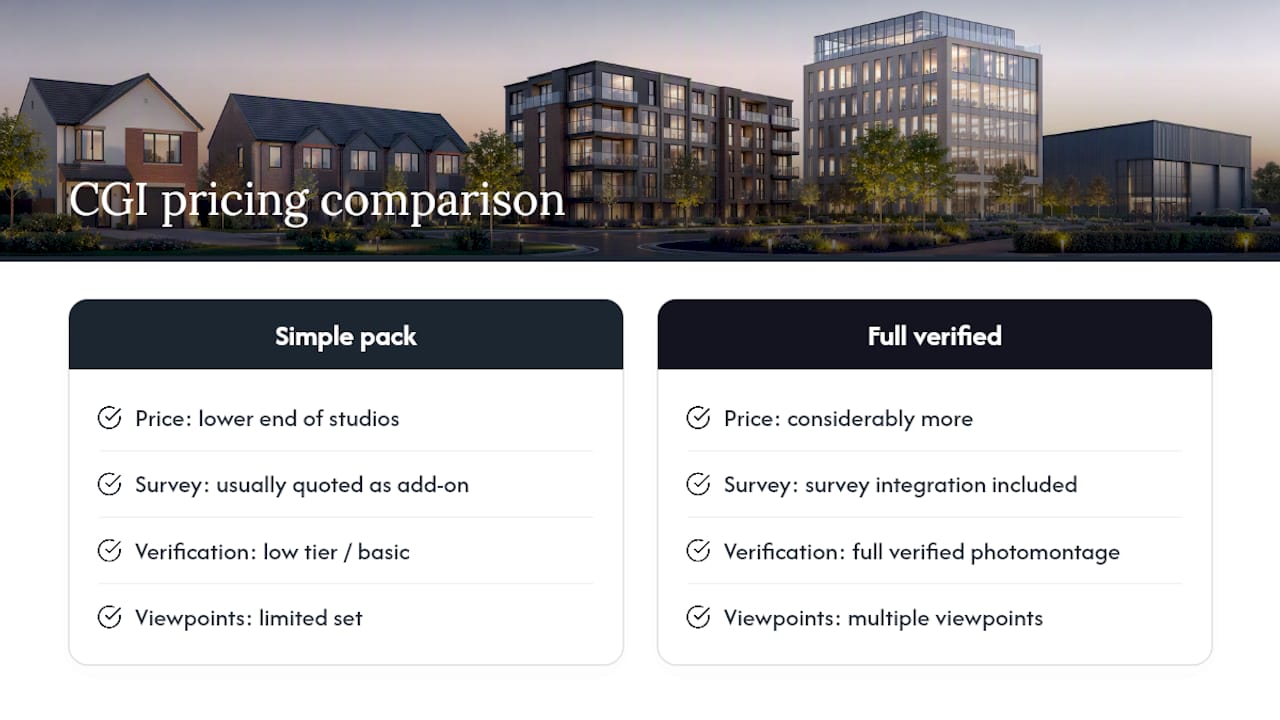
Studios typically price CGI for pre-app work per image, per viewpoint, or as a fixed pack fee covering a defined set of outputs, with verification, LiDAR survey work and AR builds usually quoted as add-ons rather than bundled in. The biggest cost drivers, based on practical studio experience, are the number of viewpoints, the verification tier required, how complex the massing and materials are to model, how many revision rounds you’ve agreed, and whether you need to rush delivery.
A simple exterior render pack for a low-risk scheme sits at the lower end of most studios’ pricing. A full verified photomontage pack with survey integration and multiple viewpoints costs considerably more, mainly because of the survey and documentation work behind it. When comparing quotes, ask each studio to itemise viewpoints, verification tier and revision rounds separately, rather than accepting one lump figure. Many studios do not publish fixed rate cards for this reason. Get a tailored quote based on your actual viewpoint list and verification needs.
Studio perspective: why pre-app visuals matter
Most design arguments at pre-app stage aren’t really about the architecture. They’re about whether the officer or neighbour can see what’s being proposed. Early, well-matched visuals resolve height, massing and daylight questions before they harden into objections, which is exactly the kind of impact illustrated in the Create Home Designs case study that gets schemes moving.
— Paride
How Visual Trick can help with your pre-app CGI
Some studios work as a single, experienced studio rather than an outsourced production line, which means one point of contact and a consistent workflow from brief to sign-off, adapted to whether your project needs a straightforward exterior render or a fully verified pack.

That matters most when deadlines are tight and you can’t afford a viewpoint remake halfway through. Visual Trick’s planning visuals service covers CGI photomontage, aerial photomontage and verified views, alongside standard exterior and interior CGI for the parts of a scheme that need context beyond the footprint. If you’re weighing up whether AR onsite checks are worth the spend on a sensitive site, that’s a conversation worth having before you fix your viewpoint list, not after.
Send over your drawings, survey data and the viewpoint list agreed with your planning officer, and Visual Trick’s services page sets out the full range on offer. Request a tailored quote and briefing call before your submission window closes.
Sources
For technical depth beyond this brief, consult GLVIA3-aligned guidance on proportionate visualisation, the NLA commentary on visual communication in planning, and this overview of verified visual montages in EIA practice.
- Visual representation of development proposals (guidance PDF)
- Verified visual montages and environmental impact assessment – Nicholas Pearson Associates
FAQ
What Is CGI for Pre-App Planning?
CGI for pre-app planning means architectural visuals, renders and verified photomontages commissioned to support pre-application discussions with a planning authority, before a formal submission is lodged. The output ranges from simple exterior renders to fully verified photomontage depending on site sensitivity.
Do I Always Need a Verified Photomontage for Pre-App?
No. GLVIA3-aligned guidance recommends a graded approach, so a low-risk scheme may only need annotated exterior renders, while a tall building near heritage assets typically needs full verification. Match the tier to the visual risk, not the biggest budget available.
How Long Does Pre-App CGI Take to Produce?
Simple exterior render packs can take one to two weeks once inputs are supplied, while verified photomontage takes longer because of survey processing and methodology documentation. Book earlier for schemes near sensitive sites, where an AR onsite check might also be needed.
What Should I Send a Studio Before Commissioning?
Send architectural drawings, Revit or CAD files where available, survey or LiDAR data, site photographs and a proposed viewpoint list with coordinates. Visual Trick and most studios also need agreed camera height and lens details before starting camera matching.
What Does Pre-App CGI Typically Cost?
Pricing usually depends on the number of viewpoints, the verification tier and revision rounds agreed, with add ons like LiDAR survey or AR builds quoted separately. Visual Trick doesn’t publish a fixed rate card; request a tailored quote based on your actual brief.
