
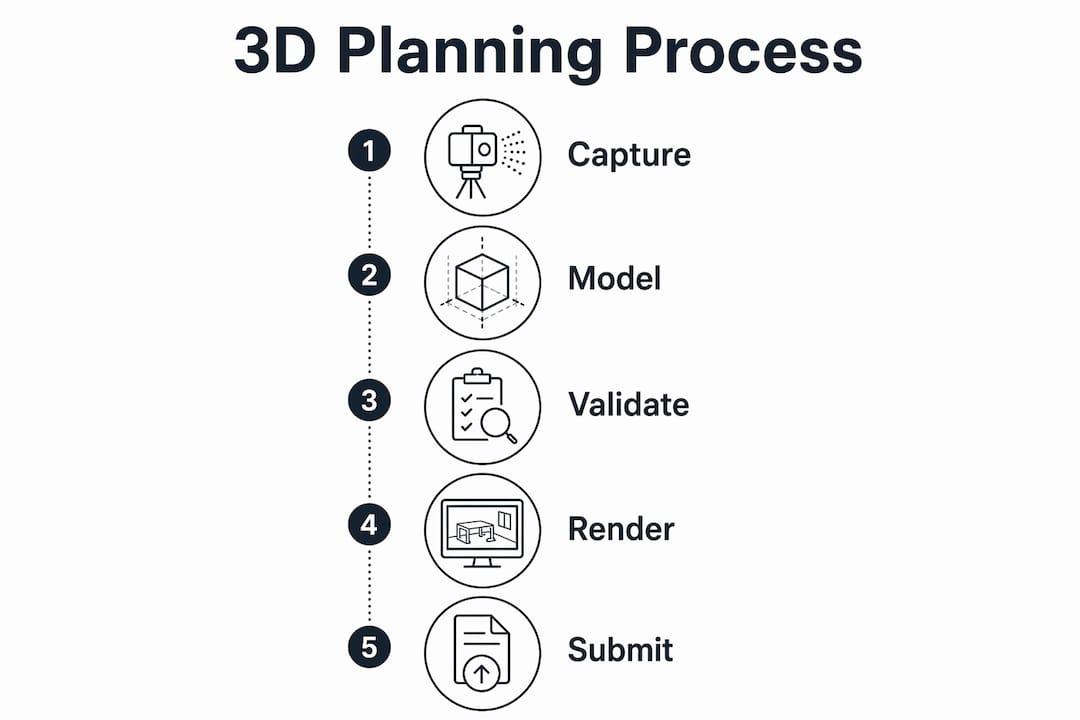
Converting a 3D model into a planning image is not simply a matter of pressing render. The process moves through several distinct stages: model preparation, site context integration, rendering to planning authority standards, and export in the correct file format. Done properly, the result is a photorealistic or diagrammatic image that a Local Planning Authority (LPA) can use to assess a proposal, that a planning committee can read without specialist training, and that a developer can use to communicate intent to stakeholders at every stage of a project.
The core workflow covers:
- 3D modelling of the proposed development, using CAD, BIM, or photogrammetry data as the foundation
- Site context integration, pulling in GIS layers, Ordnance Survey data, and existing building geometry
- Rendering, converting the model into a photorealistic or illustrative image using dedicated rendering software
- Compliance checking, confirming scale, north point, and accuracy against the submitted drawings
- Export, producing files in formats and resolutions accepted by UK planning portals
The output supports planning permission applications, design review panels, public consultations, and investor presentations. Visualtrick produces planning visuals across all of these use cases, working with architects, developers, healthcare clients, and planning consultants throughout the UK.
How 3D models become planning images: the step-by-step process
The journey from raw geometry to a submission-ready image follows a logical sequence. Each stage builds on the last, and skipping one typically creates problems that are expensive to fix at the end.
-
Gather reference material. Before any modelling begins, collect the architect’s drawings (floor plans, elevations, sections), site photographs, Ordnance Survey base data, and any existing BIM or CAD files. The quality of the final planning image depends entirely on the accuracy of what goes in at this stage. If drawings are not up to date, that is where the process must start.
-
Build or refine the 3D model. Using the reference material, construct the building geometry in a 3D modelling application. For new-build proposals, this typically means modelling from the architect’s drawings. For extensions or alterations to existing structures, photogrammetry can capture the existing fabric accurately before the proposed changes are added.
-
Apply materials and textures. Assign physically based rendering (PBR) materials to every surface: brickwork, glazing, cladding, roofing, and landscaping. Planning images need to read clearly at A3 print size and on screen, so material choices must be legible rather than purely decorative.
-
Integrate site context. Import GIS data, Ordnance Survey terrain models, and surrounding building geometry to place the proposed development in its real geographic setting. This step is what separates a credible planning image from a model floating in a white void.
-
Set camera positions. Choose viewpoints that match those specified in the Design and Access Statement or requested by the LPA. Standard positions include a street-level view from the public highway, an aerial or elevated view showing massing in context, and any specific viewpoints required by a heritage or townscape assessment.
-
Configure lighting. Set the sun angle to match the correct latitude, date, and time of day for the site. UK planning images typically use a mid-morning or early afternoon sun position to show the building clearly without excessive shadow.
-
Render the image. Run the render using path-tracing or ray-tracing software to produce a high-resolution output. Resolution should be sufficient for A3 at 300 DPI as a minimum; many LPAs now expect images at 150–300 DPI at the submitted print size.
-
Post-process and composite. Add people, vehicles, and landscaping in post-production to give the image a sense of scale and life. Overlay the correct north point, scale bar, and drawing reference if the image is to be submitted as a planning drawing rather than a supporting document.
-
Quality control against drawings. Check the rendered image against the submitted floor plans and elevations to confirm that storey heights, window proportions, and site boundaries are accurate. Any discrepancy between the image and the drawings is a planning risk.
-
Export in the required format. Save the final image as a JPEG or TIFF at the resolution specified by the planning portal. Some LPAs also accept PDF. File size limits vary by portal, so balance image quality against upload constraints.
-
Prepare the image schedule. Produce a document listing each image by reference number, viewpoint description, and the drawing it corresponds to. This makes the submission package legible to the planning officer reviewing it.
Which technologies and software do UK professionals use?
The tools used at each stage of the process have become more capable and more interconnected over the past decade. Understanding what each one does, and where it sits in the pipeline, helps you make better decisions about your own workflow.
Photogrammetry
Photogrammetry reconstructs 3D geometry from overlapping photographs. You photograph an existing building or site from multiple angles, and the software calculates the position of every surface point by comparing how features appear across images. Agisoft Metashape is the industry standard for professional photogrammetric processing in the UK; Meshroom, built on the AliceVision framework, offers an open-source alternative. The output is a dense point cloud or mesh that can be imported directly into modelling software, giving you an accurate geometric record of the existing context before any design work begins.
3D modelling software
- Autodesk Revit is the dominant BIM platform in UK architecture and is the format most commonly submitted by design teams. Revit models carry parametric data alongside geometry, making them the most information-rich starting point for a planning image.
- Autodesk 3ds Max remains widely used for visualisation work because of its mature rendering integrations and extensive material libraries.
- SketchUp is popular for early-stage massing studies and for clients who need to iterate quickly on design options before committing to a full BIM model.
- Blender has grown significantly in professional use, particularly for studios that want a capable, licence-free modelling and rendering environment.
- AutoCAD produces the 2D drawing sets that most planning submissions are built around, and its DWG files are the most common import format for 3D modelling applications.
Rendering software
Rendering engines convert 3D geometry and materials into finished images by simulating how light behaves. V-Ray (integrated with 3ds Max and SketchUp) and Lumion are the most widely used in UK architectural visualisation practices. Enscape offers real-time rendering directly inside Revit, which is useful for early design review. Each produces different results in terms of photorealism, render time, and the level of post-processing required.
GIS and BIM integration
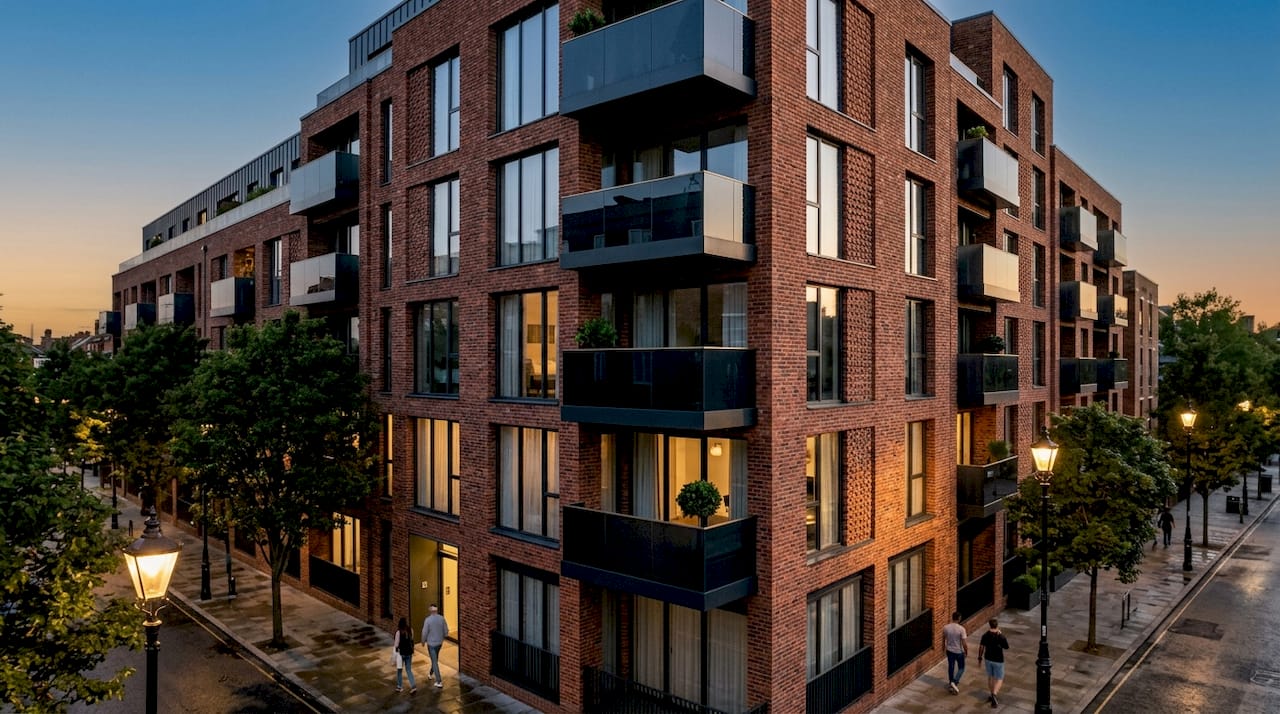
ArcGIS, developed by ESRI, converts CAD and Revit models into interactive 2D and 3D visualisations and is used extensively in UK public sector planning, including NHS estate management. It hosts detailed digital twins that can visualise individual rooms while also providing an estate-wide view. Integrating BIM and CAFM data into a single platform creates a reliable source of truth for teams working across complex building portfolios. For planning submissions, the key integration is between the 3D model and Ordnance Survey MasterMap or OS Terrain 50 data, which provides the accurate ground surface and surrounding context.
Visualtrick’s approach
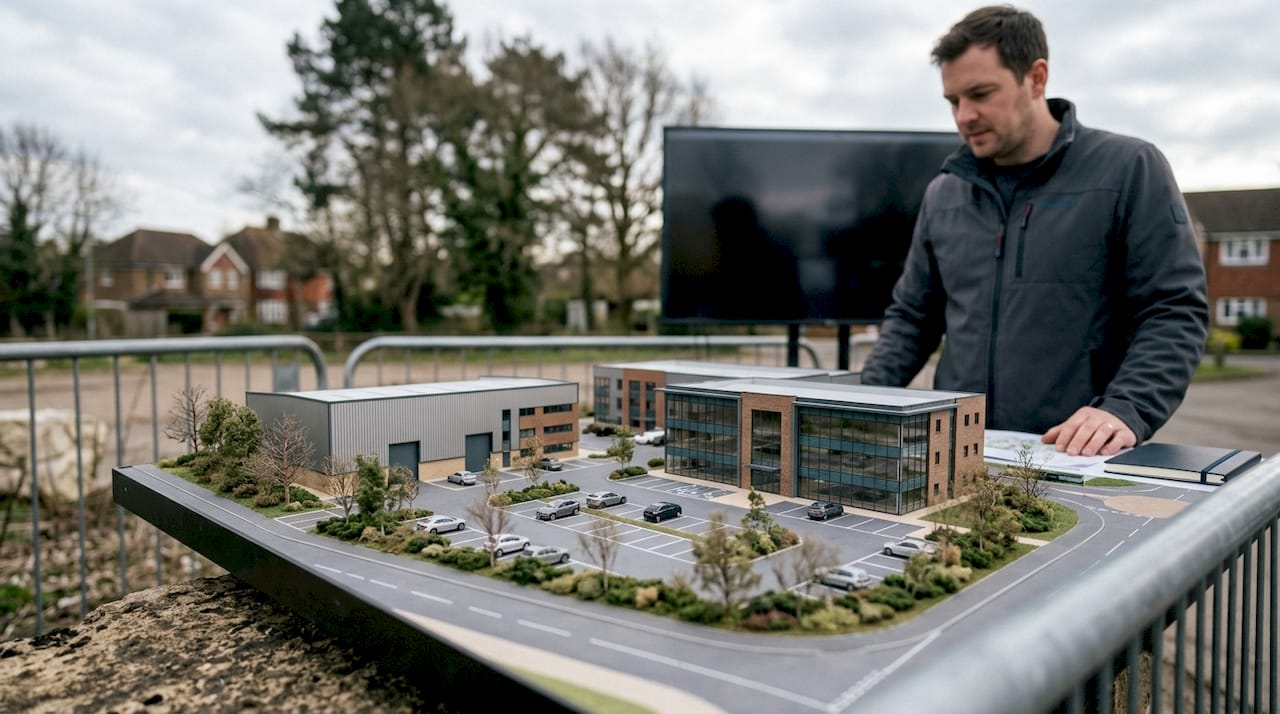
Visualtrick works across this full technology stack, combining 3D modelling with photorealistic rendering and site context integration to produce images that meet both the visual standards expected by planning committees and the technical requirements of UK planning portals. The studio’s architectural visualisation services cover everything from early-stage massing visuals through to fully detailed planning submission images.
Best practices for capturing images and preparing models
Getting the input right is the fastest way to improve the output. Most problems in planning image production trace back to poor reference material or a model that was never properly validated against the drawings.
Image capture for photogrammetry
Consistent overlap between photographs is the single most important factor in photogrammetric accuracy. Aim for at least 80% overlap between adjacent images and shoot in overcast light where possible; harsh shadows create gaps in the point cloud. Shoot at a consistent height and distance from the subject, and capture additional close-up passes for complex details such as cornices, reveals, and roof junctions. A minimum of 50–100 images is typical for a single building elevation; a full site survey will require several hundred.
Model validation
Before rendering, check the model against the submitted drawings at key control points: overall building height, floor-to-floor heights, window head and cill levels, and site boundary dimensions. A discrepancy of even 200mm at full scale can be visible in a rendered image and will be flagged by a planning officer comparing the image to the elevation drawing.
Common challenges and how to address them
- Mismatched scales between CAD and 3D model: always import CAD files at a known reference dimension and check against a control measurement before building geometry on top.
- GIS data in a different coordinate system: UK GIS data uses the British National Grid (OSGB36); confirm that your 3D model’s origin aligns with the correct grid reference before integrating terrain data.
- Overly large file sizes: flatten or proxy high-polygon context models (trees, surrounding buildings) to keep render times manageable without losing visual quality in the foreground.
- Inconsistent material appearance between render passes: lock material settings and lighting before producing multiple views so that all images in the submission read as a consistent set.
File formats and resolution
UK planning portals typically accept JPEG and PDF for supporting images, with TIFF accepted for drawn planning documents. A resolution of 300 DPI at A3 (420 × 297mm) produces a file of approximately 4,960 × 3,508 pixels, which is the practical minimum for a submission image that will be printed and reviewed at committee. Some portals impose a file size limit of 5MB per document, so JPEG compression at 80–90% quality usually provides the best balance between clarity and file size.
Pro Tip: Save a layered PSD or native render file alongside every final JPEG. Planning officers occasionally request revised images after submission, and rebuilding a render from scratch because the source files were not retained costs far more time than the storage space saved.
Key best practices at a glance:
- Shoot photogrammetry in overcast conditions with at least 80% image overlap
- Validate model dimensions against drawings at a minimum of five control points before rendering
- Align GIS data to British National Grid (OSGB36) before integrating terrain
- Export planning images at 300 DPI at the intended print size
- Balance JPEG compression at 80–90% quality to meet portal file size limits
- Retain source files and layered composites for every submission image
UK case studies: what 3D visualisation actually delivers
The case for investing in quality 3D planning images is well documented in the UK public sector. The evidence from local authority and NHS projects shows consistent returns in time saved, decision quality, and stakeholder alignment.
Nottingham City Council: a measurable return on investment
Nottingham City Council commissioned an independent financial analysis of its 3D modelling tools, carried out by ConsultingWhere. The study found a a benefit to cost ratio demonstrating that the financial benefits significantly outweigh the investment costs across a subset of internal planning processes over a ten-year period. For every £1 invested in 3D modelling and geospatial technology, the council saw £2 returned in efficiency savings and better decision outcomes. The planning team imports 3D models submitted by architects and developers directly into the council’s own digital city model, allowing officers to assess how a proposed development integrates with the existing urban fabric before a committee meeting takes place. The technology has accelerated decision-making on major planning proposals and improved outcomes for applicants, officers, and committee members alike.
2:1 benefit to cost ratio for 3D modelling investment in UK town planning, demonstrated by Nottingham City Council’s independent financial analysis over ten years.
NHS estate management: digital twins in practice
Manchester University NHS Foundation Trust built a large-scale digital twin covering six hospitals, using ArcGIS to convert Revit models and CAD data into interactive 3D visualisations. The platform visualises every floor, room, and space in 3D, with multiple data layers connected to each location. One of the most concrete outcomes: digitising asbestos management at a single hospital site cut information preparation time by up to 10 days per month. A project manager can now log in, select the rooms they are working on, and instantly access floor areas, asbestos data, photographs, and asset information.
The trust’s experience also illustrates a principle that applies equally to planning submissions: you cannot start with the 3D model. You have to start with your data, cleaning it, securing it, and making sure people trust it. If the drawings are not current, that is the first problem to solve.
How 3D visuals support NHS planning more broadly
Mott MacDonald’s Healthcare Configurator brings together demand forecasting, automated room planning, and spatial massing tools to help NHS teams move from strategy to proof of concept. The platform links functional content to room sizes and standards, reducing setup time in early-stage design and grounding decisions in real population health data rather than assumptions. The Healthcare Configurator fundamentally changes the timeline for scenario planning, giving teams confidence in deliverability and cost at every stage of the process. For anyone working on NHS infrastructure, understanding how 3D visuals support NHS planning at this level of integration is increasingly a baseline expectation rather than an advanced capability.
What these examples have in common
- 3D visualisation acts as a translation layer between complex technical data and the people who need to make decisions from it, whether those people are planning committee members, NHS estates teams, or members of the public at a consultation event.
- The return on investment is clearest when 3D models are integrated with live data sources, not used as static presentation assets.
- Accuracy and data quality underpin every successful outcome. A visually impressive image built on inaccurate geometry or outdated drawings creates more problems than it solves.
Visualtrick’s work with UK clients across healthcare, residential, and commercial sectors reflects these same principles. The studio’s CGI for planning applications service is built around producing images that are both visually credible and technically accurate, with every output checked against the submitted drawing set before delivery.
Legal and regulatory requirements for 3D planning images in the UK
UK planning law does not prescribe a specific format for visualisation images, but the National Planning Policy Framework (NPPF) and associated Planning Practice Guidance (PPG) set clear expectations around the quality and accuracy of design documentation submitted with a planning application.
The key requirements that affect planning image production are:
- Design and Access Statements must explain and justify the design, and images submitted as part of this document must accurately represent the proposed development. An image that flatters the proposal but misrepresents its scale or appearance relative to neighbouring buildings is a material risk.
- Heritage and townscape assessments often require images from specified viewpoints, produced to the methodology set out in the Landscape Institute’s Guidelines for Landscape and Visual Impact Assessment (LVIA) or Historic England’s guidance on setting assessments. These are not photorealistic renders; they are accurate photomontages produced to a defined technical standard.
- Environmental Impact Assessments (EIAs) for larger developments require visualisations that meet the standards set out in the Landscape Institute and Institute of Environmental Management and Assessment (IEMA) guidance. This includes verified views produced from surveyed camera positions with known focal lengths.
- BIM Level 2 compliance is a requirement for centrally procured public sector projects in the UK, meaning that models submitted as part of a public sector planning process must meet the data standards set out in PAS 1192.
For most private sector planning applications, the practical requirement is that images are accurate, clearly labelled, and consistent with the drawn plans and elevations submitted alongside them. The architectural CGI planning submission guide produced by Visualtrick covers these requirements in detail for developers preparing their own submissions.
Key takeaways
Transforming 3D models into planning images requires accurate source data, correct site integration, and outputs that meet both the visual and technical standards expected by UK planning authorities.
| Point | Details |
|---|---|
| Start with accurate data | Outdated drawings or misaligned GIS data will produce inaccurate planning images regardless of render quality. |
| 2:1 return on investment | Nottingham City Council’s independent analysis found £2 returned for every £1 invested in 3D modelling over ten years. |
| Resolution and format matter | Export at 300 DPI at A3 as a minimum; JPEG at 80–90% quality balances clarity with portal file size limits. |
| GIS integration adds credibility | Aligning models to British National Grid (OSGB36) and integrating OS terrain data places proposals in their real geographic context. |
| Compliance is non-optional | NPPF, LVIA, and EIA requirements set specific standards for accuracy, viewpoint methodology, and data quality in planning images. |
How Visualtrick can help you produce planning-ready visuals

Visualtrick produces planning visuals and architectural visualisation services for developers, architects, planning consultants, and healthcare clients across the UK. Whether you need a single street-level render for a householder application or a full suite of verified views for an EIA, the studio delivers images that are accurate, compliant, and built to withstand scrutiny at committee.
For healthcare and care sector clients, Visualtrick’s care home CGI service covers the full range of planning and marketing visuals, from early massing studies through to photorealistic images for public consultation. The studio also works with CGI for architects and interior designers who need planning-ready visuals produced to a consistent technical standard across a project portfolio.
