
A large-format CGI exhibition print is a photorealistic architectural render, produced and technically prepared specifically to be printed at scale for trade stands, planning panels or investor displays, rather than a web or brochure image scaled up. Before you send anything to a printer, confirm three things:
- Resolution matched to viewing distance, not a blanket 300 DPI, so the file stays manageable without losing sharpness where it counts
- CMYK colour space with an embedded ICC profile and bleed, so colours don’t shift and nothing critical gets trimmed
- Fire-rating confirmation for the venue, checked with the organiser before the file goes anywhere near a press
Get those three wrong and you’ll find out at the worst possible moment: on the show floor, the day before doors open.
Key Takeaways
Large-format CGI exhibition prints succeed when resolution is matched to viewing distance, files are supplied in CMYK at 16-bit with embedded profiles, and fire-rating is confirmed before the file goes to print.
| Point | Details |
|---|---|
| Match DPI to distance | Use 100–150 DPI at final size for standard 1–3 m viewing; design at 1:4 or 1:10 scale at 300 DPI. |
| Supply CMYK, not RGB | Convert files yourself with an embedded ICC profile to avoid dull, printer-driven colour shifts. |
| Render at 16-bit | Rendering at 16-bit gives 65,536 tonal steps per channel, avoiding visible banding at scale. |
| Confirm fire-rating early | Check the venue’s required rating, often Class 1 or Euroclass B, before production begins. |
| Commission with a full-service studio | Visualtrick builds preflight checks, vector overlays and proof coordination into exhibition CGI projects from brief to press proof. |
Table of Contents
- What makes CGI different for exhibition-scale prints
- What technical specs should you send to a printer?
- Which substrate suits your exhibition print?
- What venue checks stop last-minute print rejections?
- How do you brief and commission exhibition renders?
- What actually determines a good exhibition print
- How Visualtrick handles exhibition-scale CGI
- Sources
What makes CGI different for exhibition-scale prints
CGI made for a website carousel and CGI made for a 4-metre planning panel are not the same brief, even when the model behind them is identical. This article is about the second case specifically: renders engineered for physical, large-scale display, not about the printing processes, substrates or vendors that turn any image into a banner. That distinction matters because exhibition scale changes what the camera, the lighting and the composition need to do.
At close range, a viewer stands inches from a shell-scheme panel; at booth distance, they see it from three or four metres while walking past. A single render rarely serves both. Composition has to account for where text sits relative to eye line, where a logo needs isolation from background detail, and how a sequence of two or three panels tells a story as a visitor moves along a stand rather than as one static frame.
Get this right and the payoff is concrete: planning committees read a clearer, more legible proposal; sales and investor audiences see a scheme that looks finished rather than sketched; and booth visitors are guided by imagery that does double duty as wayfinding.
Pro Tip: Brief your CGI studio on the exact panel sequence and walking route before renders are locked, not after. Repositioning a viewpoint after render is expensive; repositioning a panel order is free.
What technical specs should you send to a printer?
Colour space is the first thing that goes wrong, and it goes wrong silently. Files supplied in RGB get auto-converted by most large-format printers, and that conversion routinely produces dull or unexpected colour shifts because the CMYK gamut simply can’t reproduce every RGB value the same way. Convert to CMYK yourself, with the profile embedded, and you keep control of how that shift happens rather than leaving it to the RIP software.
Resolution is the second. Full 300 DPI at final print size sounds safe, but it produces enormous files for no visible gain once a viewer is standing more than a metre away. The workflow most production houses expect is scale-based: design at 1:4 or 1:10 of final size at 300 DPI, which lands you at a sensible effective resolution once the file is scaled up for output.
For most exhibition graphics, 100 to 150 DPI at final size is typically sufficient, which is exactly why the 1:4/1:10 scaled workflow exists: it hits that target without forcing you to render a file the size of a small hard drive.
Bit depth deserves equal attention. Render and export at 16-bit rather than 8-bit wherever your pipeline supports it. An 8-bit channel gives you 256 tonal steps; 16-bit gives you 65,536, and at exhibition scale that difference is the gap between a smooth sky and a visibly banded one.
A few more rules that save reprints:
- Use PDF/X for type-heavy panels, TIFF for photo-led images
- Outline all fonts and place logos as vectors, not raster elements
- Keep at least 6mm of bleed on every edge, with critical text well inside the safe margin
- Place live text and CAD linework as vector overlays in InDesign or Illustrator rather than baking them into the render itself, which keeps edges crisp and files lighter
- Request one signed physical press proof on the actual substrate before committing to the full run
Which substrate suits your exhibition print?
Fabric, vinyl, rigid panels and backlit systems all render the same CGI file differently, and a render tuned for one will look flat or blown out on another. Fabric tends to soften fine detail slightly, so images destined for fabric benefit from a touch of extra sharpening and contrast at export. Backlit panels work the opposite way: light passes through the substrate rather than bouncing off it, so midtones need to run brighter than they would for a wall-mounted print, often by around 10 to 15% to compensate for how the material transmits light.
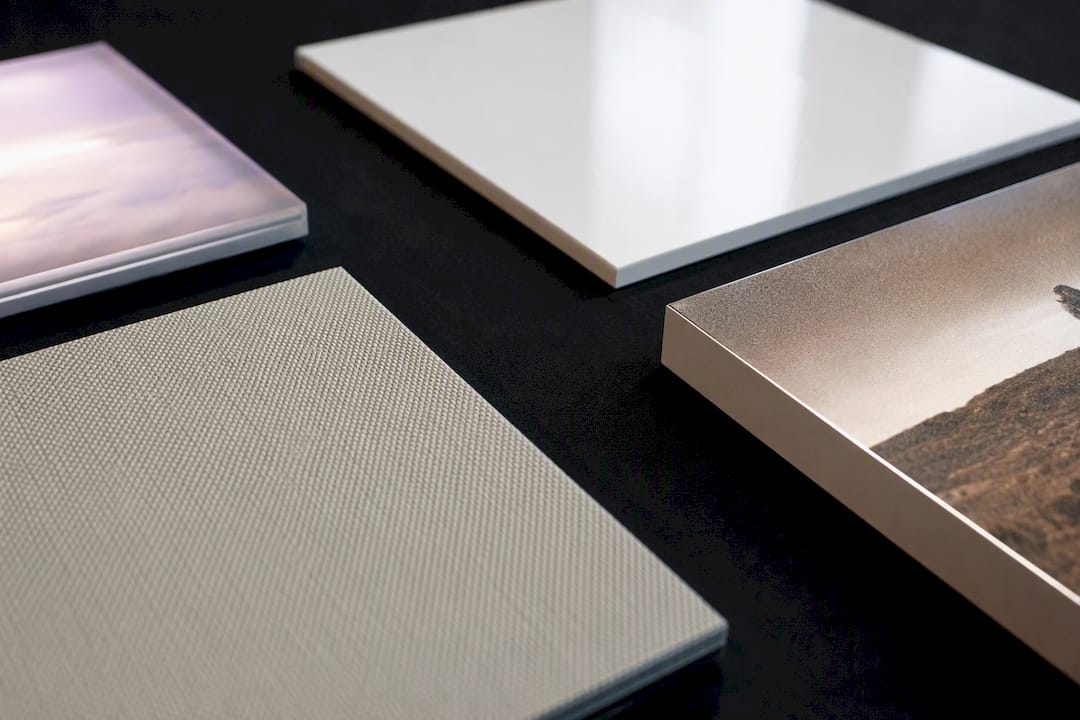
| Substrate | Strengths | Trade-offs |
|---|---|---|
| Fabric (tension/SEG) | Lightweight, easy transport, reusable | Softens fine detail; needs export sharpening |
| Vinyl | Durable, cost-effective, widely available | Heavier, less flexible for reuse |
| Rigid panels | Excellent flatness, sharp for close viewing | Bulky to ship and store |
| Backlit film | High visual impact, strong at distance | Needs brighter midtones; higher running cost |
Printer roll widths also cap what’s possible in one piece. When a panel exceeds the maximum printable width, the file needs splitting, and the smart move is composing the render so seams fall away from faces, key architectural features or headline text, not through the middle of them. Rigid panels store and travel well for repeat use across multiple shows, which makes the render’s file quality worth the extra care the first time round, since you’re not starting from scratch at the next event.
What venue checks stop last-minute print rejections?
Most exhibition print disasters trace back to one thing: nobody confirmed the actual visible area of the panel before the file was finalised. Shell-scheme systems vary between manufacturers, and a render sized for one grid can crop badly on another.
- Confirm the exact visible area and safe zone with both the show organiser and the panel manufacturer, not just one or the other
- Check the venue’s required fire-rating (commonly Class 1 or Euroclass B) and request producer certification early, since retrofitting a compliant substrate under deadline pressure rarely goes smoothly
- Build in time for drayage and show-floor delivery windows, which are often tighter than general shipping estimates suggest
- Book your physical proof before, not during, the shipping window
Ask the venue or hire company for the shell-scheme manufacturer’s name, exact grid dimensions and hanging point positions in writing. A venue’s digital presentation tools can also help confirm layout constraints before artwork is finalised.
Pro Tip: Ask for fire certification documentation the same week you commission the render, not the week before the show. Certificates can take longer to issue than the artwork does to produce.
How do you brief and commission exhibition renders?
A clear brief removes most of the guesswork that causes reprints. At minimum, ask your studio for:
- 16-bit rendered files at agreed pixel dimensions
- Flattened, print-ready proof PDFs for sign-off
- Vector overlays for all text and logos, kept separate from the raster render
- Layered source files, if you’ll need to adapt panels for future shows
A realistic timeline for a multi-panel exhibition set runs something like this:
- Weeks 1 to 2: brief, reference gathering, viewpoint and composition sign-off
- Weeks 3 to 4: render production and first proof review
- Week 5: revisions, vector overlay placement, physical proof requested
- Week 6: fire-rating certification confirmed, final files released
- Week 7+: print production, drayage and delivery buffer
Budget swings mainly on substrate (backlit costs more than vinyl), panel rigidity, and any rush fee for compressing that six-week window. Before you commission, ask your supplier directly: do they offer preflight support before files go to print, what’s their proofing policy, who signs off on fire-rating compliance, and who carries shipping responsibility if a panel arrives damaged? Visualtrick’s architectural CGI service builds each of these checks into the production process rather than leaving them to the client to chase.
What actually determines a good exhibition print
The conventional advice on this topic obsesses over resolution, as though DPI alone separates a sharp panel from a disappointing one. It doesn’t. The research is clear that viewing distance governs resolution needs far more than raw pixel count does, and most of the print failures I’ve seen traced back to something else entirely: nobody confirmed the panel’s actual visible area, or nobody checked fire-rating until the week of the show.
Studios and clients both default to worrying about the render’s polish before worrying about the production chain around it. That’s backwards. A beautifully lit CGI image at the wrong DPI for its viewing distance, on an uncertified substrate, arriving two days late, fails regardless of how good the lighting was.
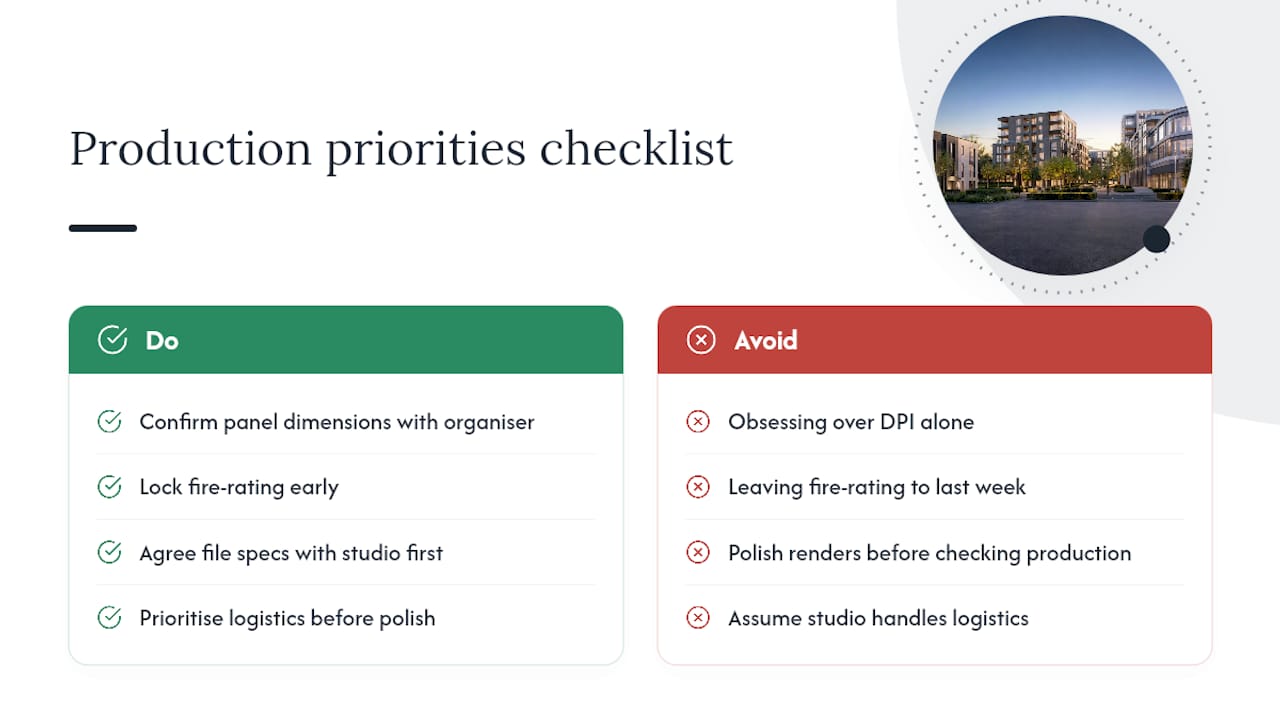
If you take one thing from this guide, prioritise the boring parts first: confirm dimensions with the organiser, lock the fire-rating early, and agree file specs with your studio before a single frame renders. The creative work is the part your studio should be trusted to get right. The logistics are the part that actually sinks projects, and they’re entirely within your control to fix in advance.
How Visualtrick handles exhibition-scale CGI
Visualtrick works with property developers, architects, planning consultants and care sector operators who need visuals that hold up at exhibition scale, not just on a screen. Where a generic printer can only advise on the substrate, Visualtrick builds the render itself around the final display: 16-bit files, vector overlays for text and logos, and preflight support that catches colour-space or DPI issues before they reach a proof.

Projects across architectural visualisation, care sector development and retirement schemes have moved from planning panel to trade stand without a single reprint, because the file specification was agreed before the camera angle was even locked. That’s the real advantage over commissioning a render separately and hoping it survives the print process intact: one studio owns the whole chain, from viewpoint to press proof.
If you have an exhibition, planning submission or investor presentation coming up, get in touch with Visualtrick to discuss your panel dimensions, substrate choice and timeline, and get a quote built around the specific venue you’re printing for.
Sources
- What is the difference between RGB and CMYK? | Digital Printing (UK)
- What advantages do 16-bit photos have over 8-bit photos? | Photo Stack Exchange
- Latest guidelines for framing and sizing art in UK hospitality | Trowbridge Gallery
